Sunday 28 August 2011

This is my work bench.

This is where the magic happens. Organised chaos as usual. 

Nuts and bolts.

A series of photos showing how I make nuts and bolts, each one
you see on my model was made this way. Heated sprue is pushed into an allenkey bolt recess.

It is removed and cut from the sprue.

It is then placed into a jig I made, this is to remove the lip and level it off.

The lip is filled down to the level of the plate.

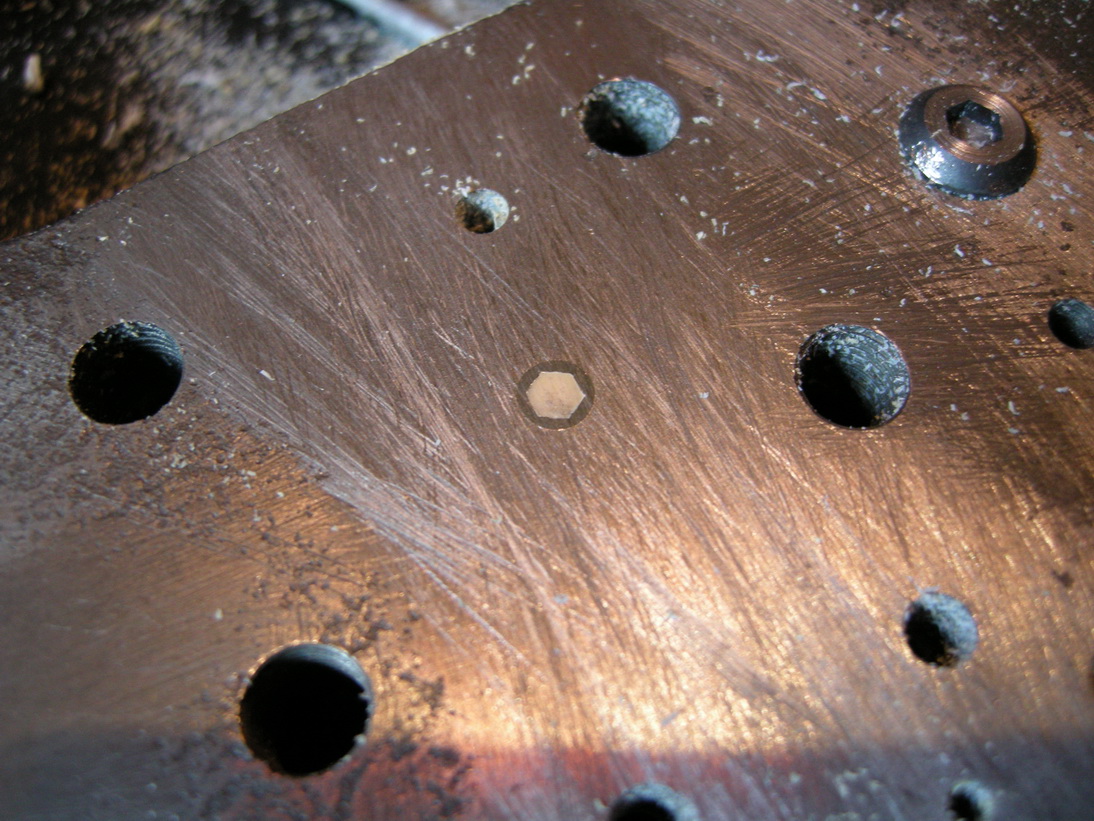
Here is the bolt nicely uniform.

The bolt is pushed through the plate.

And after all that here is what were left with, the finished heat formed bolt head.

Numerous bolt heads ready for finishing off. I usually only make them as I go along to avoid tedium. 

Saturday 27 August 2011

Forgot to add this pic of the ducting from above.
The two exhaust pipes after completion. These are two heat formed tubes with the flutes cut into them and the fishtails added.

A closup of the fishtail.

The joint between the two components was filled in with moulten plastic and blended in after cured.

My construction method for the fishtail end pieces, two of these were heat formed and glued together.  

One side of a fishtail pipe is seen here.

I came up with this method for the complicated ducting, I think the pictures are pretty self explanatory. 

The plastic is heated up with a heat gun, the male former is pushed into the plastic which forces it into the femle portion and thats it. 

Usually the parts are quite a tight fit and difficult to remove due to shinkage.
This is how I made the lower suspension skirt. The wooden formers were shaped and softened plastic was pushed over it to create the shape. 

A closup of the wooden formers and a section of  skirt, note that it is wavey which is desired as this is supposed to be a material.

I had to make inner and outer formers as the mating surfaces are different for all.

The full section can be seen here.
The complets rear escape hatch.

Exterior view showing the signal board.

The mechanism is shaped once again out of aluminium scrap pieces,
the gears in the handle and tongue were shaped with files.

The rivits were heat formed and glued in place, note how
every components is actually rivited to the plastic for added strength this was done in real life.

The handle in the fully open position, inside the tank this handle hangs down like this which is why
the locking loop has been added to slip over the end of the lever. 
Here are some pics of the side access hatch and
locking mechanism. It was all made out of aluminium rods and bits and pieces. 

Another view.

And how it looks from the outside. the key hole is seen at the bottom. 

Note the heat formed rain guard at the top of the hatch.